
Following the blog of Taiseer Joudeh at http://bitoftech.net/2014/10/27/json-web-token-asp-net-web-api-2-jwt-owin-authorization-server/, I was able to build a JSON Web Token Authorization Server and Resource Server in ASP.NET API 2 using Owin. It was also demonstrated in an AngularJS and of course Postman as front-end to consume the Web Api.
However, I need to use an ASP.NET MVC template provided by Visual Studio as front-end. I tried searching, but there is no clear path or complete solution on how to attain this. So I decided to come up on my own based from incomplete answers that I found.
First of all, let’s create an ASP.NET MVC using Visual Studio. (I used VS 2015)
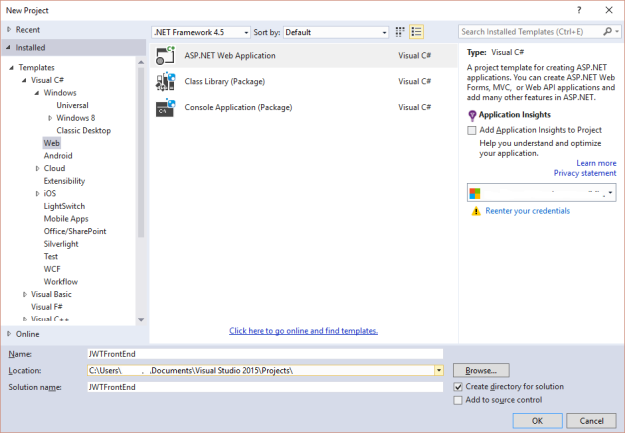
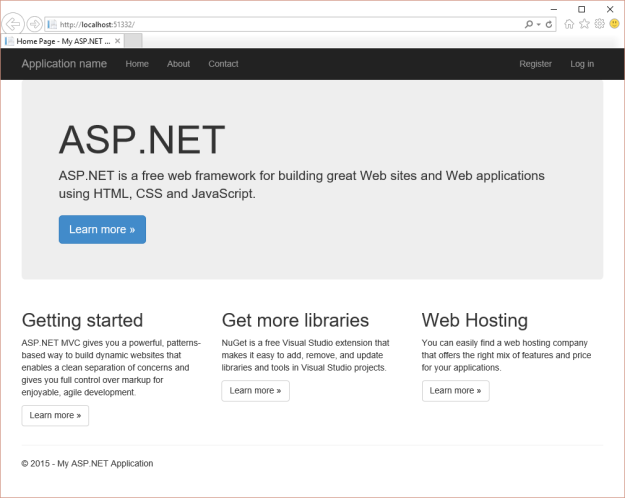
Press Ok. Select MVC as template and select Individual User Accounts for the Authentication to let Visual Studio scaffold our template with login. Let’s build and run the project.
The authentication uses a database. We need to customize it. As mentioned, we will use a JWT Authorization Server for authentication.
Let’s create a new folder Providers and from there create a class named JwtProvider.cs
using Microsoft.AspNet.Identity;
using Newtonsoft.Json.Linq;
using System;
using System.Collections.Generic;
using System.Net.Http;
using System.Net.Http.Headers;
using System.Security.Claims;
using System.Security.Principal;
using System.Text;
using System.Threading.Tasks;

namespace JWTFrontEnd.Providers
{
    public class JwtProvider
    {
        private static string _tokenUri;

        //default constructor
        public JwtProvider() { }

        public static JwtProvider Create(string tokenUri)
        {
            _tokenUri = tokenUri;
            return new JwtProvider();
        }

        public async Task<string> GetTokenAsync(string username, string password, string clientId, string deviceId)
        {
            using (var client = new HttpClient())
            {
                client.BaseAddress = new Uri(_tokenUri);
                client.DefaultRequestHeaders.Accept
                    .Add(new MediaTypeWithQualityHeaderValue("application/json"));
                var content = new FormUrlEncodedContent(new[]
                {
                        new KeyValuePair<string, string>("username", username),
                        new KeyValuePair<string, string>("password", password),
                        new KeyValuePair<string, string>("grant_type", "password"),
                        new KeyValuePair<string, string>("device_id", deviceId),
                        new KeyValuePair<string, string>("client_id", clientId),
                    });
                var response = await client.PostAsync(string.Empty, content);
                if (response.StatusCode == System.Net.HttpStatusCode.OK)
                {
                    return await response.Content.ReadAsStringAsync();
                }
                else
                {
                    //return null if unauthenticated
                    return null;
                }
            }
        }

        public JObject DecodePayload(string token)
        {
            var parts = token.Split('.');
            var payload = parts[1];

            var payloadJson = Encoding.UTF8.GetString(Base64UrlDecode(payload));
            return JObject.Parse(payloadJson);
        }

        public ClaimsIdentity CreateIdentity(bool isAuthenticated, string userName, dynamic payload)
        {
            //decode the payload from token
            //in order to create a claim
            string userId = payload.nameid;
            string[] roles = payload.role.ToObject(typeof(string[]));

            var jwtIdentity = new ClaimsIdentity(new JwtIdentity(
                isAuthenticated, userName, DefaultAuthenticationTypes.ApplicationCookie
                    ));

            //add user id
            jwtIdentity.AddClaim(new Claim(ClaimTypes.NameIdentifier,userId));
            //add roles
            foreach (var role in roles)
            {
                jwtIdentity.AddClaim(new Claim(ClaimTypes.Role, role));
            }

            return jwtIdentity;
        }

        private byte[] Base64UrlDecode(string input)
        {
            var output = input;
            output = output.Replace('-', '+'); // 62nd char of encoding
            output = output.Replace('_', '/'); // 63rd char of encoding
            switch (output.Length % 4) // Pad with trailing '='s
            {
                case 0: break; // No pad chars in this case
                case 2: output += "=="; break; // Two pad chars
                case 3: output += "="; break; // One pad char
                default: throw new System.Exception("Illegal base64url string!");
            }
            var converted = Convert.FromBase64String(output); // Standard base64 decoder
            return converted;
        }
    }


    public class JwtIdentity : IIdentity
    {
        private bool _isAuthenticated;
        private string _name;
        private string _authenticationType;

        public JwtIdentity() { }
        public JwtIdentity(bool isAuthenticated, string name, string authenticationType)
        {
            _isAuthenticated = isAuthenticated;
            _name = name;
            _authenticationType = authenticationType;
        }
        public string AuthenticationType
        {
            get
            {
                return _authenticationType;
            }
        }

        public bool IsAuthenticated
        {
            get
            {
                return _isAuthenticated;
            }
        }

        public string Name
        {
            get
            {
                return _name;
            }
        }
    }
}
For more information about JSON Token, please go to http://jwt.io/introduction/
Since, we are using username instead of email for login, modify the LoginViewModel from AccountViewModel. Replace the Email property with Username
    public class LoginViewModel
    {
        [Required]
        [Display(Name ="Username")]
        public string Username { get; set; }

        [Required]
        [DataType(DataType.Password)]
        [Display(Name = "Password")]
        public string Password { get; set; }

        [Display(Name = "Remember me?")]
        public bool RememberMe { get; set; }
    }
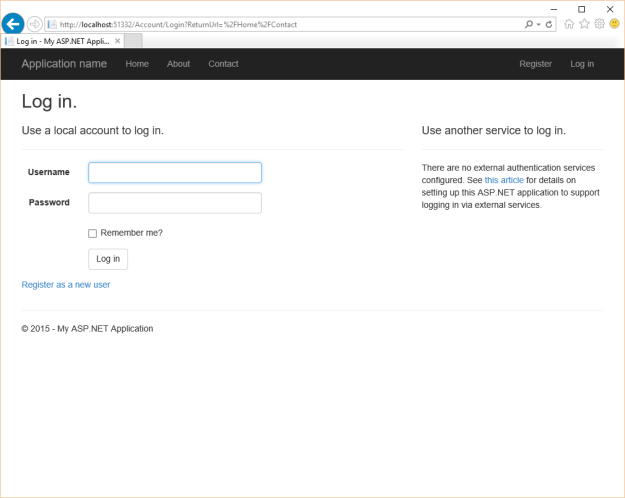
Modify the Login View (Login.cshtml) as follows
@using JWTFrontEnd.Models
@model LoginViewModel
@{
    ViewBag.Title = "Log in";
}

<h2>@ViewBag.Title.</h2>
<div class="row">
    <div class="col-md-8">
        <section id="loginForm">
            @using (Html.BeginForm("Login", "Account", new { ReturnUrl = ViewBag.ReturnUrl }, FormMethod.Post, new { @class = "form-horizontal", role = "form" }))
            {
                @Html.AntiForgeryToken()
                <h4>Use a local account to log in.</h4>
                <hr />
                @Html.ValidationSummary(true, "", new { @class = "text-danger" })
                <div class="form-group">
                    @Html.LabelFor(m => m.Username, new { @class = "col-md-2 control-label" })
                    <div class="col-md-10">
                        @Html.TextBoxFor(m => m.Username, new { @class = "form-control" })
                        @Html.ValidationMessageFor(m => m.Username, "", new { @class = "text-danger" })
                    </div>
                </div>
                <div class="form-group">
                    @Html.LabelFor(m => m.Password, new { @class = "col-md-2 control-label" })
                    <div class="col-md-10">
                        @Html.PasswordFor(m => m.Password, new { @class = "form-control" })
                        @Html.ValidationMessageFor(m => m.Password, "", new { @class = "text-danger" })
                    </div>
                </div>
                <div class="form-group">
                    <div class="col-md-offset-2 col-md-10">
                        <div class="checkbox">
                            @Html.CheckBoxFor(m => m.RememberMe)
                            @Html.LabelFor(m => m.RememberMe)
                        </div>
                    </div>
                </div>
                <div class="form-group">
                    <div class="col-md-offset-2 col-md-10">
                        <input type="submit" value="Log in" class="btn btn-default" />
                    </div>
                </div>
                <p>
                    @Html.ActionLink("Register as a new user", "Register")
                </p>
                @* Enable this once you have account confirmation enabled for password reset functionality
                    <p>
                        @Html.ActionLink("Forgot your password?", "ForgotPassword")
                    </p>*@
            }
        </section>
    </div>
    <div class="col-md-4">
        <section id="socialLoginForm">
            @Html.Partial("_ExternalLoginsListPartial", new ExternalLoginListViewModel { ReturnUrl = ViewBag.ReturnUrl })
        </section>
    </div>
</div>

@section Scripts {
    @Scripts.Render("~/bundles/jqueryval")
}
Likewise, we should also modify the action at the controller side
        [HttpPost]
        [AllowAnonymous]
        [ValidateAntiForgeryToken]
        public async Task<ActionResult> Login(LoginViewModel model, string returnUrl)
        {
            if (!ModelState.IsValid)
            {
                return View(model);
            }

            // This doesn't count login failures towards account lockout
            // To enable password failures to trigger account lockout, change to shouldLockout: true
            var result = await SignInManager.PasswordSignInAsync(model.Username, model.Password, model.RememberMe, shouldLockout: false);
            switch (result)
            {
                case SignInStatus.Success:
                    return RedirectToLocal(returnUrl);
                case SignInStatus.LockedOut:
                    return View("Lockout");
                case SignInStatus.RequiresVerification:
                    return RedirectToAction("SendCode", new { ReturnUrl = returnUrl, RememberMe = model.RememberMe });
                case SignInStatus.Failure:
                default:
                    ModelState.AddModelError("", "Invalid login attempt.");
                    return View(model);
            }
        }
Override the PasswordSignInAsync at IdentityConfig.cs
        public override async Task<SignInStatus> PasswordSignInAsync(string userName, string password, bool isPersistent, bool shouldLockout)
        {
            string uri = "<authorization server end point";
            string clientId = "<client id / audience id from authorization server";
            var jwtProvider = Providers.JwtProvider.Create(uri);
            string token = await jwtProvider.GetTokenAsync(userName, password, clientId, Environment.MachineName);
            if (token == null)
            {
                return SignInStatus.Failure;
            }
            else
            {
                //decode payload
                dynamic payload = jwtProvider.DecodePayload(token);
                //create an Identity Claim
                ClaimsIdentity claims = jwtProvider.CreateIdentity(true, userName, payload);

                //sign in
                var context = HttpContext.Current.Request.GetOwinContext();
                var authenticationManager = context.Authentication;
                authenticationManager.SignIn(claims);

                return SignInStatus.Success;
            }
        }
}
Now we are ready to test our application. Run and enter username and password then click login.
A Server Error is raised, right? Well, yes that is expected because of the anti-forgery mechanism employed by MVC (@Html.AntiForgeryToken()) and our claims did not contain an identity provider.
A claim of type ‘http://schemas.xmlsoap.org/ws/2005/05/identity/claims/nameidentifier’ or ‘http://schemas.microsoft.com/accesscontrolservice/2010/07/claims/identityprovider’ was not present on the provided ClaimsIdentity. To enable anti-forgery token support with claims-based authentication, please verify that the configured claims provider is providing both of these claims on the ClaimsIdentity instances it generates. If the configured claims provider instead uses a different claim type as a unique identifier, it can be configured by setting the static property AntiForgeryConfig.UniqueClaimTypeIdentifier.
Let’s modify Global.asax.cs to tell MVC to use the userid as the token for anti-forgery.
using System.Security.Claims;
using System.Web.Helpers;
using System.Web.Mvc;
using System.Web.Optimization;
using System.Web.Routing;

namespace JWTFrontEnd
{
    public class MvcApplication : System.Web.HttpApplication
    {
        protected void Application_Start()
        {
            AreaRegistration.RegisterAllAreas();
            FilterConfig.RegisterGlobalFilters(GlobalFilters.Filters);
            RouteConfig.RegisterRoutes(RouteTable.Routes);
            BundleConfig.RegisterBundles(BundleTable.Bundles);

            //set the antiforgery claim to user id
            AntiForgeryConfig.UniqueClaimTypeIdentifier = ClaimTypes.NameIdentifier;
        }
    }
}
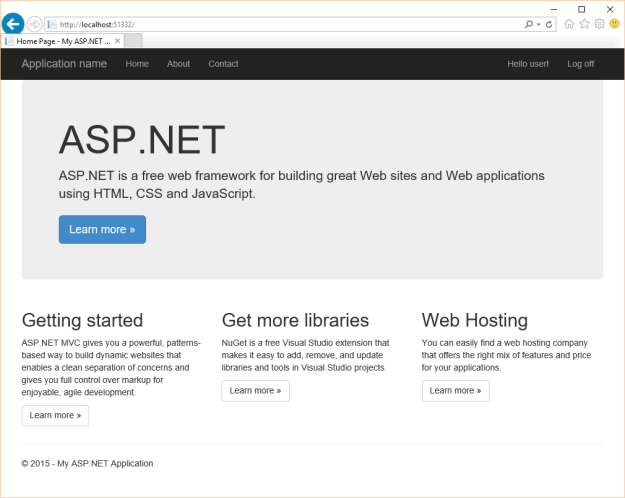
Great, our login is now working!
Let us check if the authentication and authorization is working. Decorate the action Contact with Authorize.
using System.Web.Mvc;

namespace JWTFrontEnd.Controllers
{
    public class HomeController : Controller
    {
        public ActionResult Index()
        {
            return View();
        }

        public ActionResult About()
        {
            ViewBag.Message = "Your application description page.";

            return View();
        }

        [Authorize(Roles ="admin")]
        public ActionResult Contact()
        {
            ViewBag.Message = "Your contact page.";

            return View();
        }
    }
}
Note: An admin role is included in the account I am testing.
Click Contact from the menu. Because, the action needs authentication, we are directed to login.
Login and perfect, we can now access the Contact view.
Authentication and Authorization is now provided by an external Authorization Server.
In my next blog, we will add refresh token and save the JWT to consume an external ASP.NET Web Api from an ASP.NET MVC as front-end.
Download the full source code here.

Hi in your demo had you already added credentials to a data store for a bunch of test users?
Would you envisage the registration process being fairly conventional?
Hi, I have the follow error “URI no válido: no se puede determinar el formato del URI.”
I noted that values are incorrect but I don’t know what should I do?
string uri = “”;
string clientId = “”;
Can you give me the sample code that is causing the error?
Add a registration API. After that, validate the user by sending a code to his email. The code will be posted back again to the API for verification. Sending the code via a text message (SMS) to his mobile phone is also suggested.
This piece of writing offers clear idea in support
of the new viewers of blogging, that truly how to do blogging.
Continuation please!!! 🙂
Hello dude!!! thanks a lot for this tutorial! I was looking for something like that! I implemented it and it works fine!!